Multiple Cameras: One Scene, Every Aspect Ratio

Victor
October 3, 2026 · 4 min read
If you've ever animated a scene and then needed it in two different shapes — say, a regular 16:9 video for YouTube and a tall 9:16 version for Shorts or TikTok — you know how annoying that used to be. You'd end up duplicating the whole scene, repositioning everything for the new aspect ratio, and keeping two copies in sync any time you made a change.
Not anymore. You can now add multiple cameras to a single scene, and export each one separately. One scene, as many framings as you need.
What You'll Learn
- Adding more than one camera to the same scene
- Telling cameras apart on stage by name and color
- Choosing a specific camera to export, or letting Automatic mode decide
- Why this means you never have to duplicate a scene for a different aspect ratio again
One Scene, Multiple Cameras
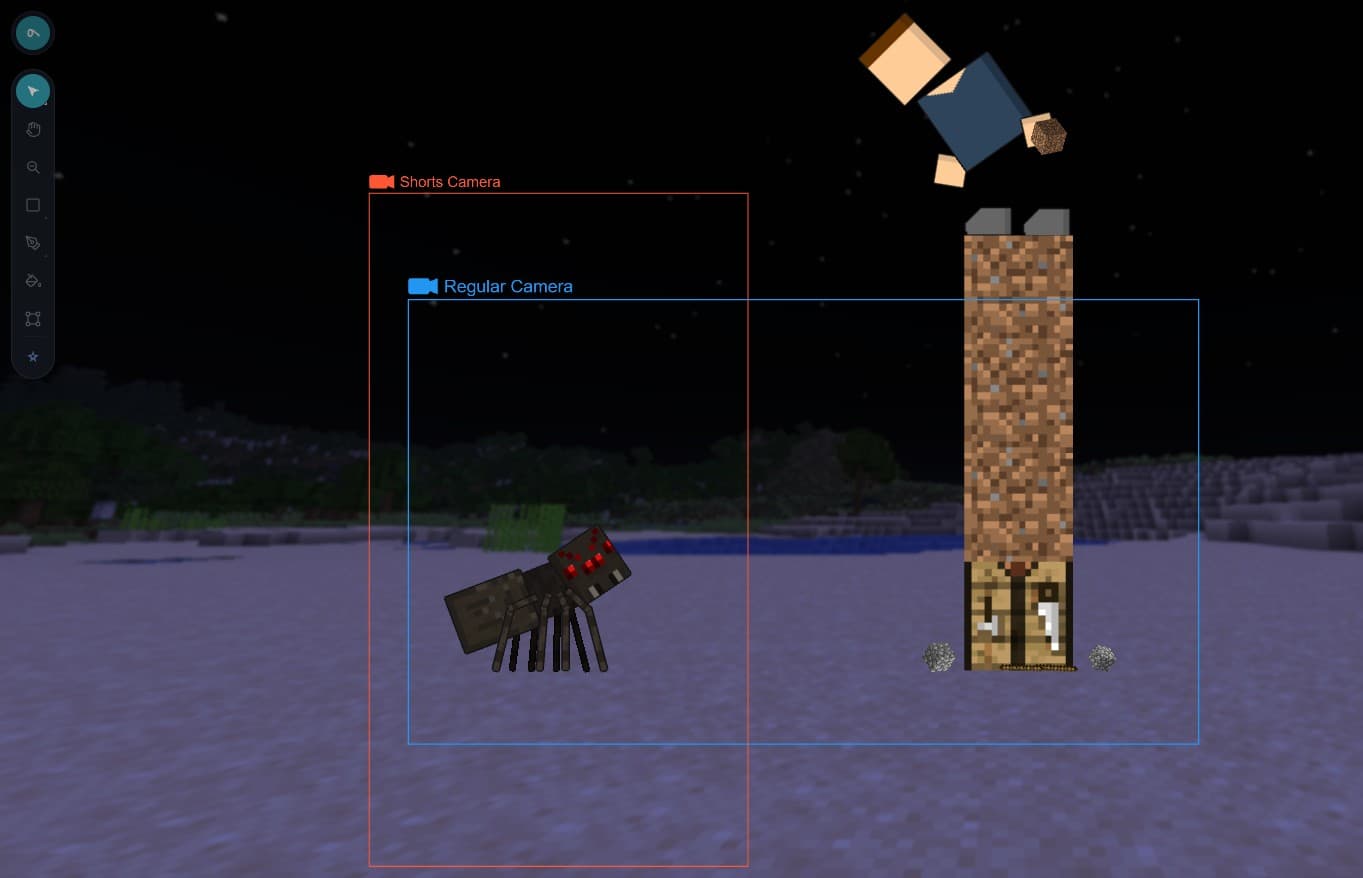
Each camera is its own layer on the timeline, just like any other object. Give it a name, pick its size, and position it wherever you want in your scene. Add a second camera, a third — however many you need. Every camera gets its own color, so you can always tell them apart at a glance on the stage.
In the example below, the same scene has two cameras: a wide Regular Camera for a standard landscape video, and a tall Shorts Camera framing a tighter, vertical shot of the same action — no duplicate scene required.
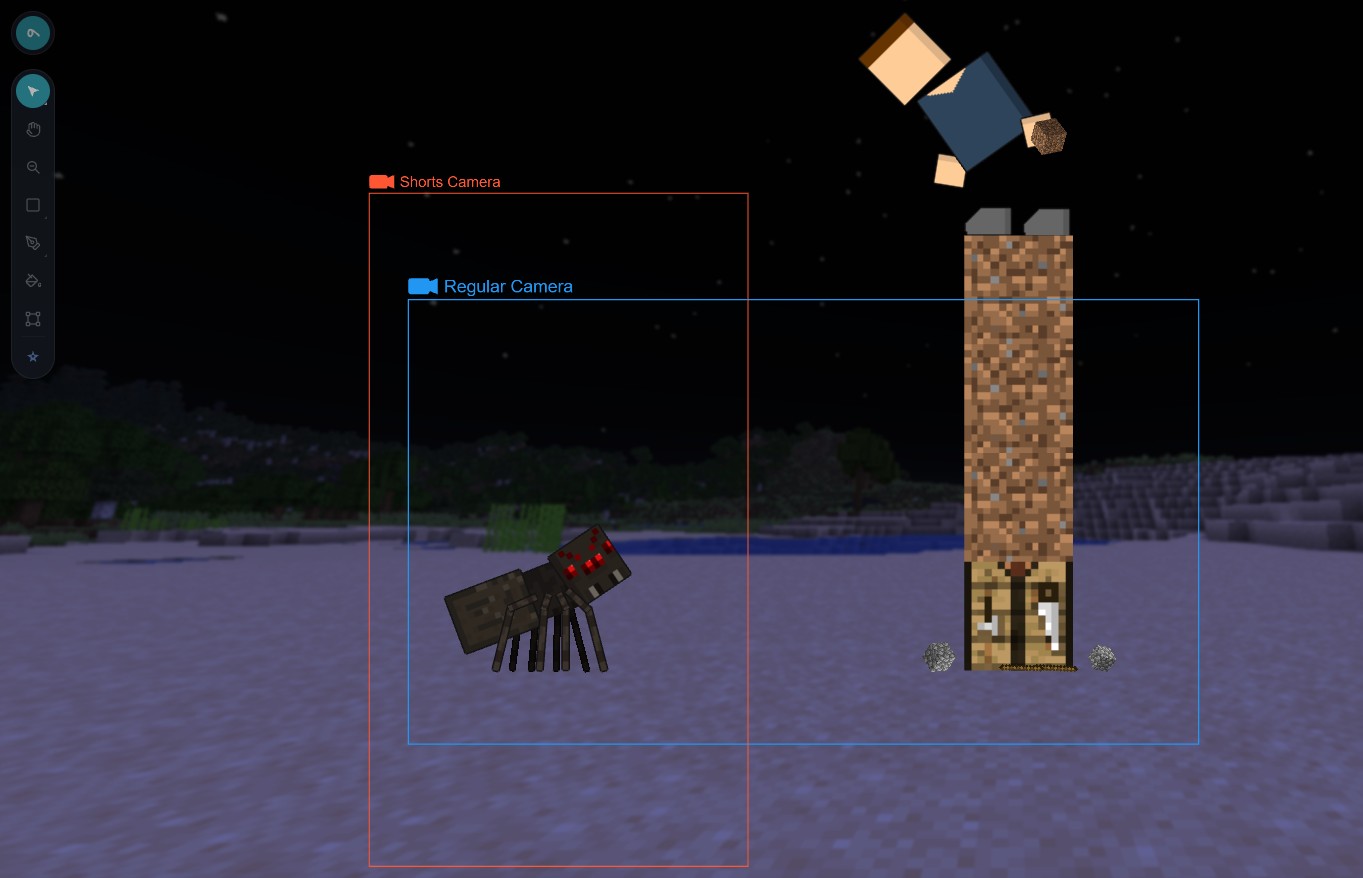
That screenshot is actually from an animation I made myself — you can watch the full thing here: watch it on YouTube.
Choosing How to Export
When you open the Export dialog, there's now a Camera dropdown with every camera in your scene listed by name, plus an Automatic option at the top.
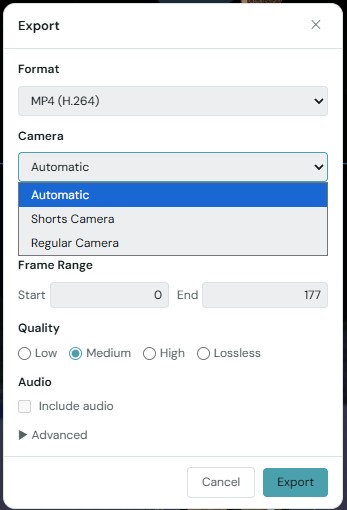
Pick a specific camera — like Shorts Camera — and your export uses exactly that camera's framing for the entire video. That's the easiest option when you already know which version you're rendering.
Automatic Mode, in Plain Words
Automatic is the simplest way to think about it: at every moment in your animation, Sclera exports whatever camera is currently "on." If you switch which camera is active partway through your timeline, the export follows along, switching too — like cutting between camera angles in a movie. And if no camera is active at some point, it just shows the whole stage, same as if you had no camera at all.
You don't have to set up anything special for this to work. A camera is simply "on" whenever it has a frame of its own on the timeline — turn it off at some point, and Automatic moves on to whichever camera (if any) is active next.
Why This Matters
The biggest win here is that you no longer need to copy and paste your entire scene just to get a different output resolution. Animate everything once, add a camera for each format you want to ship, and export them one at a time, straight from the same project. Fix a bug or tweak the timing, and every export stays in sync automatically — because there's only one scene.
Try It Yourself
Open any project, add a second camera from the timeline, and give it a different size. Then head to Export and switch between Automatic and your named cameras to see it in action. If you're making content for more than one platform, this one's for you.